Understanding the Basics of Wildlife Photography
Wildlife photography is a captivating blend of art and science, offering the chance to connect with nature and capture its beauty. At its core, this genre of photography requires more than just a good camera and a keen eye; it demands patience, technical skill, and a deep understanding of animal behavior. In this guide, we’ll explore the essentials of wildlife photography to help you elevate your skills. For resources and community engagement, check out www.sudswild.com, which serves as an excellent platform for wildlife lovers and photographers alike.
1. Essential Equipment for Wildlife Photography
Having the right gear can significantly influence your success as a wildlife photographer. Here’s a breakdown of the essential equipment you should consider:
- Camera: A DSLR or mirrorless camera with a good autofocus system is typically favored. The ability to change lenses is crucial—look for options with high ISO performance for low-light conditions.
- Lenses: A telephoto lens (200-600mm) allows you to shoot from a distance without disturbing wildlife. A macro lens is also beneficial for capturing intricate details of smaller creatures.
- Tripod/Monopod: Stability is key in wildlife photography, especially when using long lenses. A sturdy tripod or a lightweight monopod can help reduce camera shake.
- Field Guide: Having a field guide will help you identify animals and understand their behaviors, making it easier to anticipate shots.
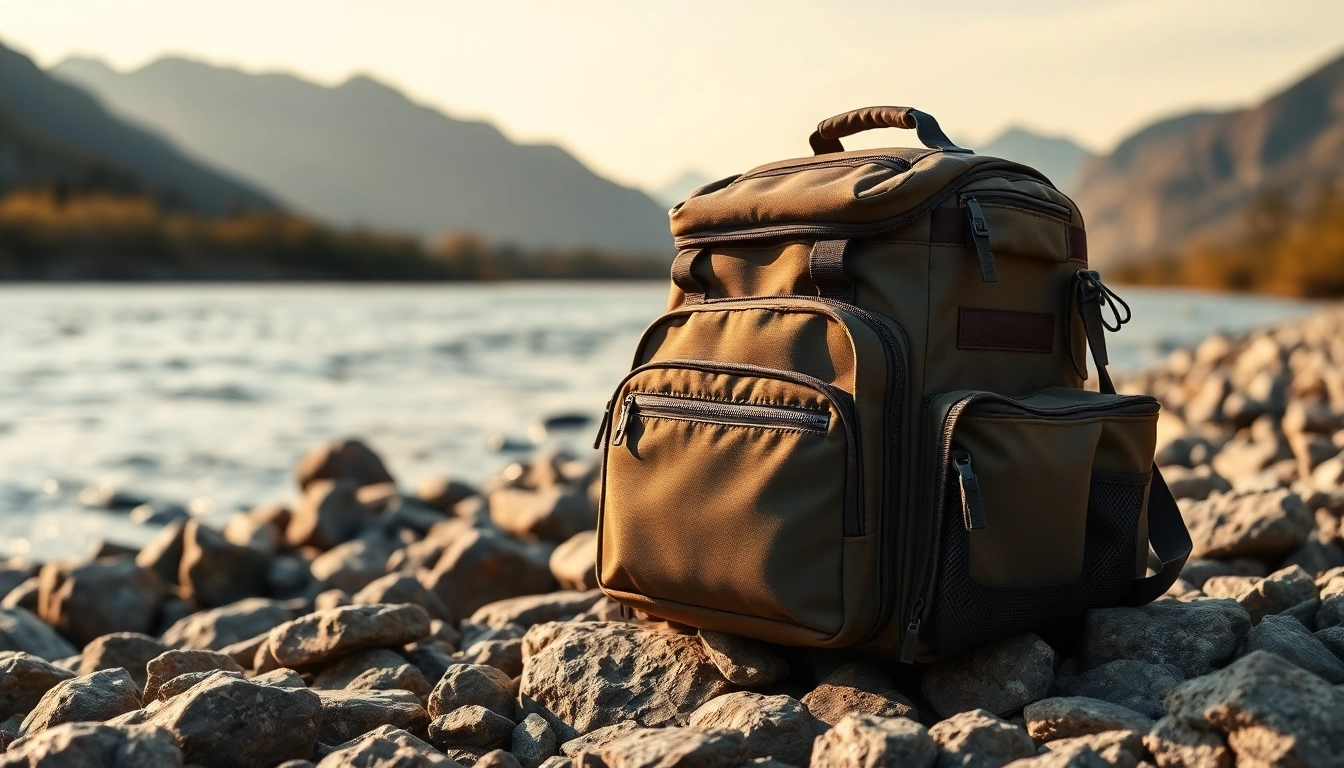
- Accessories: Memory cards, extra batteries, and protective weather gear for your camera are essential, as wildlife photography often requires long hours in the field.
2. Fundamental Techniques and Settings
Understanding photographic techniques and camera settings is crucial for wildlife photography. Here are the key areas to focus on:
- Shutter Speed: Fast shutter speeds (1/500s and above) are essential to freeze fast-moving animals. For birds in flight, you may need speeds of 1/2000s or faster.
- Aperture: A wider aperture (f/4 or f/5.6) allows more light and narrows the depth of field, helping to isolate your subject against a blurred background.
- ISO Settings: In low-light conditions, increase your ISO but be aware of the noise that can be introduced. A good camera will maintain quality at high ISO levels.
- Continuous Focus Mode: Use AI Servo (Canon) or AF-C (Nikon) to help keep moving subjects in focus.
3. Choosing the Right Locations for Wildlife Shots
Your choice of location can greatly impact the quality and variety of wildlife shots you can capture. Here are some strategies for selecting the best locations:
- Research Local Habitats: Different wildlife thrives in varied environments, from wetlands to forests. Study what species inhabit your area and where they are most likely to be seen.
- Seasonal Patterns: Many species exhibit migratory behaviors or seasonal changes in behavior. Time your visits to coincide with these patterns for better chances of sightings.
- National Parks and Reserves: These areas are often protected and have a higher density of wildlife. Arriving early or staying late can also give you a better chance of spotting animals.
Mastering Composition Techniques
1. The Rule of Thirds in Wildlife Photography
Composition is paramount in creating captivating images. The Rule of Thirds is a foundational principle that helps place your subject in a way that draws the viewer’s eye naturally.
Imagine dividing your image into thirds, both horizontally and vertically. Place your subject at one of the intersection points or along a line. This method creates balance and interest, allowing viewers to engage more fully with the photograph. For wildlife photographers, positioning animals off-center can significantly enhance the storytelling aspect of your image, highlighting their environment.
2. Framing Your Shots for Impact
Effective framing can add depth and context to your wildlife images. Utilize natural elements, such as branches or rocks, to create a frame within your shot. This technique guides the viewer’s focus toward the subject while providing a sense of the animal’s habitat. Additionally, experimenting with different angles and perspectives can lead to unique and compelling compositions that stand out in your portfolio.
3. Using Natural Light Effectively
Natural light can drastically affect the mood and quality of your images. The golden hours—early morning and late afternoon—produce soft, warm light that enhances colors and adds depth.
Be mindful of the direction of light. Backlighting can create beautiful silhouettes or highlight the edges of your subject, while front lighting brings out colors and details. A photographer must assess how the light interacts with their subject to capture the most striking images possible.
Post-Processing for Wildlife Images
1. Editing Software Options for Photographers
Post-processing is a vital step in wildlife photography, allowing you to refine your images. Popular software options include:
- Adobe Lightroom: Great for organizing and enhancing photos with an intuitive interface.
- Adobe Photoshop: Offers advanced editing capabilities for detailed and extensive modifications.
- Capture One: Particularly favored by professionals for its color grading and tethering capabilities.
- Free Options: GIMP and Darktable provide powerful alternatives for those starting or on a budget.
2. Basic Editing Techniques to Enhance Images
Once you have chosen your editing software, familiarize yourself with essential techniques to enhance your wildlife shots:
- Adjusting Exposure: Fine-tune brightness to ensure your subject stands out without losing detail.
- Color Correction: Vibrancy and saturation adjustments can bring life to your images, but be careful not to oversaturate.
- Cropping: Improve composition and remove distracting elements without compromising image quality.
- Sharpening: Apply carefully to enhance detail, especially for feathers and fur, but avoid making the image appear unnatural.
3. Workflow for Efficient Post-Processing
Establishing an efficient workflow is crucial to manage your post-processing tasks effectively. Here’s a recommended approach:
- Import and Organize: Start by importing your images and organizing them in folders based on date, location, or subject.
- Initial Review: Quickly go through your images and flag the ones you plan to edit. Delete any that don’t meet your standards.
- Edit Selectively: Focus on the best images first to invest your time wisely.
- Export for Sharing: Once editing is complete, export your images in the appropriate formats based on their intended use (web, print, etc.).
Understanding Wildlife Behavior for Better Shots
1. Researching Animal Habits Before Shooting
A significant element of wildlife photography is understanding what drives animal behavior. Researching an animal’s habits, favorite feeding times, and common habitats will help you choose the best moments to capture them. Field notes and wildlife guides can provide invaluable insights into different species. Observing their reactions to environmental changes and predators also contributes to successfully documenting wildlife in its natural state.
2. Patience and Timing in Wildlife Photography
Patience is an essential virtue in wildlife photography. Many successful wildlife photographs are the result of long waiting periods, sometimes spanning hours or even days. Understanding timing—when animals are most active (dawn and dusk) versus when they are resting—can dramatically improve your chances of capturing the perfect shot. Staying still and minimizing noise can also yield better results, as sudden movements can startle wildlife.
3. Ethical Considerations When Photographing Animals
Ethical wildlife photography emphasizes respect for animals and their habitats. Always maintain a safe distance and avoid behaviors that could disturb wildlife or their environments. Understanding local laws and regulations regarding wildlife photography is also crucial; adhere to guidelines regarding conduct around flora and fauna. Photographers should strive for images that celebrate wildlife while promoting conservation, ensuring our passion does not come at the detriment of the animals we love to photograph.
Building Your Portfolio and Online Presence
1. Showcasing Your Work on www.sudswild.com
Building a portfolio of your best photographs is vital for establishing your presence in the wildlife photography community. Utilize platforms like www.sudswild.com to showcase your work. An effective portfolio should highlight your versatility, including different species, habitats, and photographic styles. Organize your images thematically or by location for viewers to navigate easily.
2. Using Social Media to Promote Your Photography
Social media platforms like Instagram, Facebook, and Pinterest are powerful tools for wildlife photographers to reach wider audiences. Regularly post your work, engage with your followers, and participate in relevant photography groups. Hash tags related to wildlife photography can also enhance visibility. Share your stories, behind-the-scenes moments, and conservation messages to foster a deeper connection with your audience.
3. Connecting with the Wildlife Photography Community
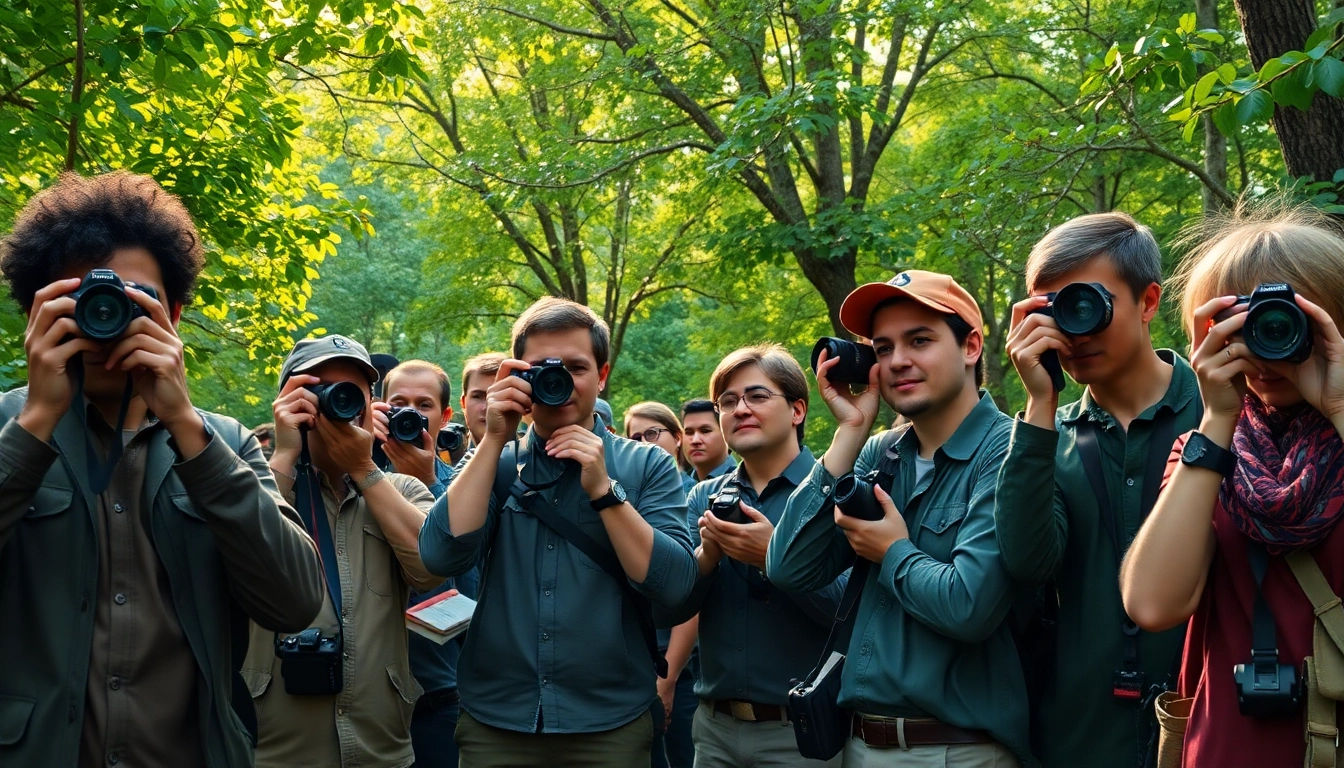
Networking within the wildlife photography community is invaluable. Attend workshops, join online forums, or participate in landscape and wildlife photography excursions to meet like-minded enthusiasts. Seek feedback on your work and collaborate on projects to exchange knowledge and skills. Building relationships with fellow photographers can lead to opportunities and insights that will profoundly impact your photography journey.


